Add new test Follow
Adding tests to TypingTest Pro is simple.
1. Click on the Add button on the Tests tab. This opens the test settings form.
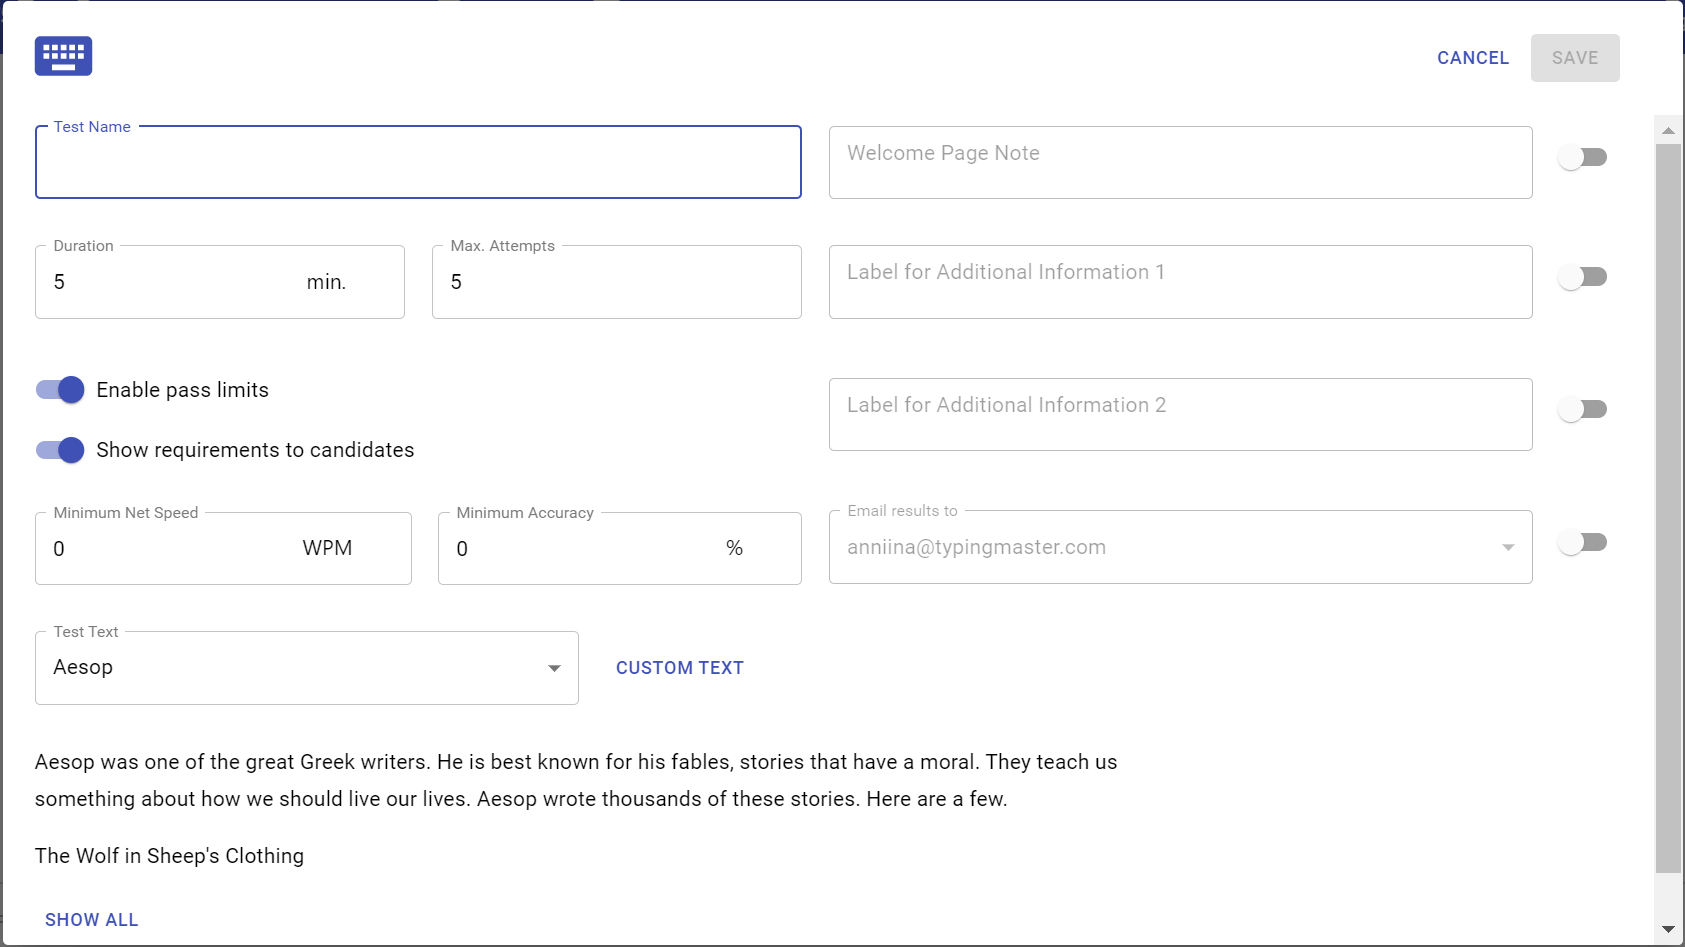
2. On the left, you'll find the basic settings for the test
- Test name
- Test duration
- Number of attempts allowed
- Pass limit for net typing speed (if enabled)
- Pass limit for accuracy (if enabled)
- Test text selector with option to add your own text (Custom text)
3. If you set pass limits to the test, you have the option to not show them to the candidates. By default, the pass requirements are shown. If you'd like to not show them, set the switch to disabled.
If you choose to hide the requirements, the candidates will not see a Passed/Not Passed status in their test results, instead they will see just status Completed.
4. On the right, you'll see some additional settings for the test. To enable any of them, click on the corresponding switch at the right.
- Welcome Page Note: You can give short additional instructions to the candidates on the first page of the test.
- Two fields to collect any additional information that you need from the candidates. Set to enabled and enter the label name respectively.
- Sending results to account administrators: Set to enabled and select which administrator(s) will receive results by email. You can only send results to admins who've been invited to TypingTest Pro and have created a user account. You can invite administrators on the Account page.
Note that emails are sent for completed attempts only. If candidate interrupts the test, result email is not sent.
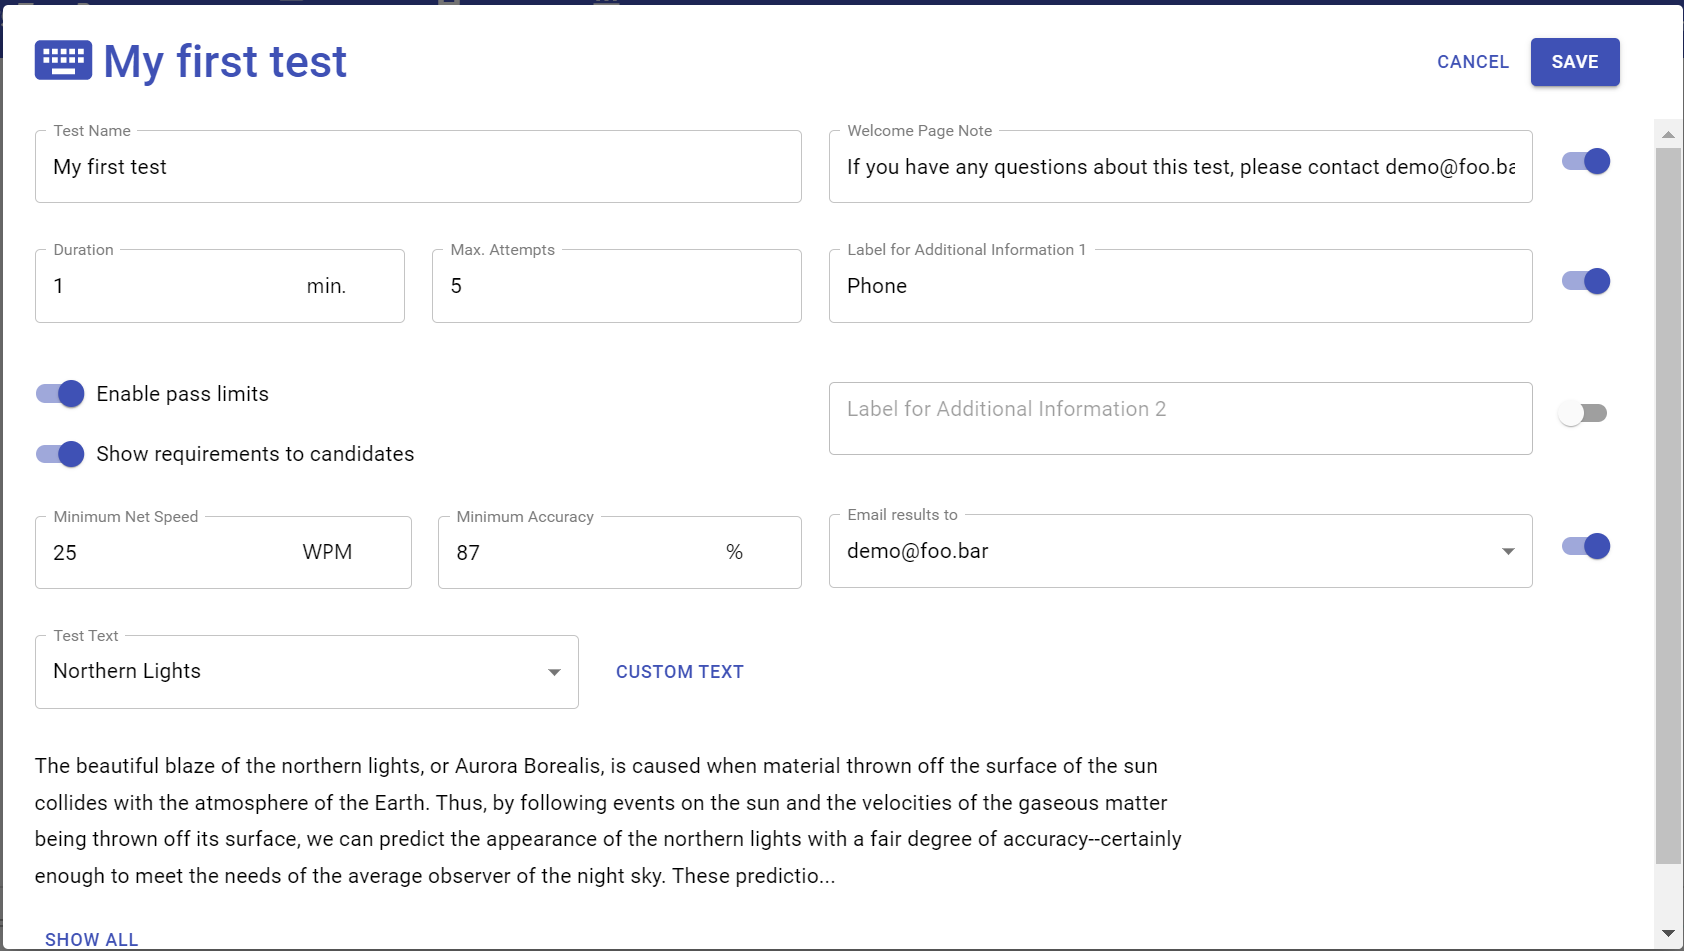
5. Once you have configured the test to your liking, click on Save and the test card will show on the Tests tab. The test is now ready to be shared with your candidates.